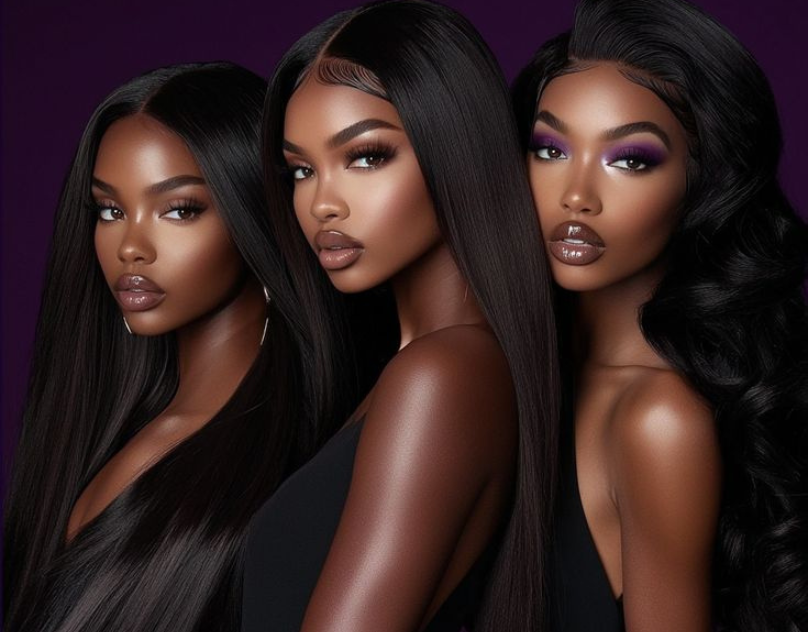
If you’ve ever scrolled through social media, seen a celebrity or influencer with an impossibly seamless hairline, and wondered, “How on earth does their hair look like it’s growing directly out of their scalp?”—you aren’t alone.
The secret almost always comes down to a well-installed full lace frontal.
When done right, a lace frontal creates a totally natural illusion. It allows you to pull your hair back into a sleek ponytail, part it anywhere you choose, and wear dramatic updos without revealing a single track. But if you’ve ever tried installing one yourself or paid top dollar at a salon only to end up with a stiff, clockable hairline, you know there’s a massive gap between an average install and a master-level finish.
Professional hairstylists have their special tricks – the little, accurate preparation and enhancement techniques that result in a good or bad hairstyle. In this detailed guide, we will reveal secrets known to professionals in the process so you can learn how to work with frontals, choose the right wigs, and achieve the perfect “melted” scalp look every time.

What Is a Full Lace Frontal? (And How It Works)
Before diving into the hidden techniques, let’s break down what a full lace frontal actually is.
A standard frontal is an ear-to-ear hairpiece made from sheer lace with human hair strands hand-tied into the mesh. It typically spans 13 inches across the hairline and extends 4 to 6 inches back toward the crown (commonly sold as a 13×4 or 13×6 wig). This gives you complete coverage across your forehead, hiding your natural hair while giving you total freedom to part your frontal hair down the middle, on the side, or slick it straight back.
While some people opt for a 360 lace frontal wig—which wraps all the way around the entire perimeter of the head—a classic ear-to-ear lace frontal remains the ultimate standard for customizable hairline transformations paired with traditional hair bundles.

5 Pro Stylist Secrets for a Flawless Melt
1. Bleaching the Knots Without Ruining the Base
When factory workers tie individual hair strands onto the lace base, they form tiny dark knots. If left untreated, these knots look like black dots across your forehead—a dead giveaway that you’re wearing a piece.
- The Secret: Stylists mix bleach to a thick, thick “paste” consistency (like thick frosting or peanut butter) rather than a runny liquid.
- Why It Matters: If your bleach mixture is too runny, it seeps through the lace holes and bleaches the roots of the hair, creating bright orange spots called “hot roots.” A thick bleach sits firmly on top of the knots without bleeding through.
2. Custom Plucking: Nature Isn’t Neat
The hairline on natural human hair is not a single continuous clump of hair, but rather a process that starts with hair strands looking softer and thinner near the forehead.
The Secret: This technique requires stylists to use multiples layers when pulling out hair from the tribal section of the wig.
Pro Tip: Avoid pulling the hair on the lace directly; otherwise the fragile lace will tear easily. You should always keep the lace under tension with one hand where you want to pluck away a hair strand, while with the other hand you do the plucking itself.
3. Matching the Lace to Your Actual Skin Tone
Lace is available in different tones: HD lace, transparent lace, and medium brown lace. HD lace (high definition) is really thin and is thus not visible at all, but it is rather fragile. Transparent lace is sturdier, but if not properly tinted can create an ashy or white halo effect on darker skin.
- The Secret: Custom lace tinting spray or liquid makeup foundation is non-negotiable. Stylists paint the underside of the lace with a foundation or tint that matches your exact chest and neck undertones—not just your face—so the lace disappears instantly upon contact with your skin.
4. The “Bald Cap” Method Is the Real Magic
You can have the best full lace frontal in the world, but if the foundation underneath is lumpy or uneven, the entire install suffers.
- The Secret: A neutral-toned, ultra-thin stocking cap is secured over your braided natural hair using a layer of holding spray or light gel. Once dry, the excess cap edge is cut away right along your natural hairline.
- The Result: This creates a smooth, flat canvas that matches your scalp colour, preventing your natural hair colour or dark braids from showing through the sheer lace.
5. Less Adhesive Means a Longer, Cleaner Hold
One of the biggest mistakes beginners make is applying thick layers of glue or holding spray all at once.
- The Secret: Apply hair adhesive in ultra-thin, even layers, allowing each layer to turn completely clear before adding the next. Stylists typically layer 3 to 4 micro-thin coats. Wait until the glue is tacky and fully clear before pressing the lace down with a rat-tail comb—never your fingers, as natural skin oils will break down the bond prematurely.

Choosing Your Wig: Full Lace Frontal vs. 360 Lace Frontal Wig
When deciding on your next protective style, understanding your options ensures you spend your budget wisely.
| Feature | Ear-to-Ear Full Lace Frontal | 360 Lace Frontal Wig |
| Coverage Area | Temple to temple / Ear to ear (13×4 or 13×6) | Entire perimeter around the head |
| Ponytail Styling | Low ponytails, half-up styles | High ponytails, top knots, high buns |
| Installation Time | Moderate (requires bundles in back) | Faster (pre-constructed wig cap) |
| Maintenance | Medium care required | High edge-to-nape maintenance |
| Best For | Everyday natural styling & versatile parts | Active lifestyles & high updos |
Pros & Cons of Wearing Frontals
Like any beauty technique, wearing frontal hair comes with distinct benefits and trade-offs.
The Pros
- Unmatched Versatility: You can switch up your parting space every day without exposing tracks.
- Protective Styling: Your natural hairline and leave-out are fully covered and protected from heat damage and environmental stress.
- Realistic Appearance: High-grade lace provides the closest approximation to a natural scalp available on the market today.
The Cons
- High Maintenance: Frontals require touch-ups every 1 to 2 weeks as your skin sheds natural oils and your natural hair grows underneath.
- Fragile Material: High-definition lace is delicate. Aggressive brushing or rough handling can easily cause tearing or balding.
- Learning Curve: Customising bleach, plucking, and tinting takes patience and practice to master.
Frequently Asked Questions & AI Search Insights
How long does a lace frontal install actually last?
A professional lace frontal installation typically lasts 2 to 3 weeks with proper nighttime maintenance (wrapping your edges with a silk or satin scarf). While the hair bundles behind it can last much longer, the adhesive on the frontal will naturally lift over time due to sweat, skin oils, and face washing.
Will wearing a frontal damage my edges?
Not if installed and removed correctly! Damage usually occurs during improper removal—such as ripping or pulling off glued lace without using an alcohol-based or oil-based adhesive solvent. Always saturate the bonded area with glue remover and let it melt away completely before lifting the lace.
Can I get a lace frontal wet or wear it to the gym?
Yes, but you must choose waterproof, sweat-resistant adhesives. If you work out heavily, sweat can break down temporary holding gels faster. Tie a tight elastic melting band over your hairline during your workout and let it dry completely before removing the band to keep the bond intact.
Final Thoughts: Unlocking Professional Results
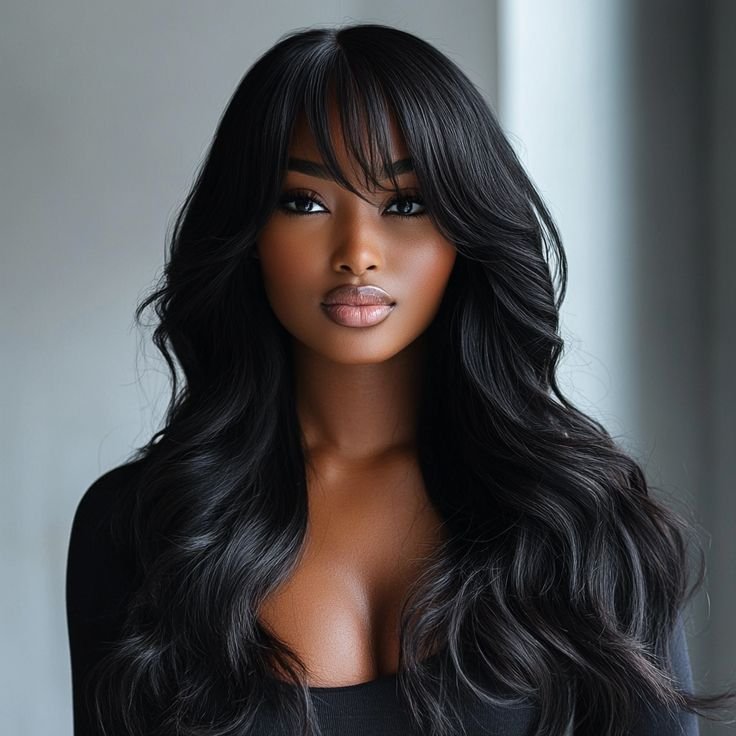
Getting an invisible, melt-into-your-skin perfect finish with a full lace frontal is not an impossible task; rather, it requires patience, a specific technique, and appropriate customisation. In fact, with the right methods and some time spent on bleaching the knots, plucking the hair to create a natural-looking gradient density, dying the lace properly, and applying adhesives in layers, this task can be easily accomplished at home without paying a salon fee.
Remember that prep work is essential; you need to respect the fragility of the lace and remove glue carefully so as to preserve your hairline.