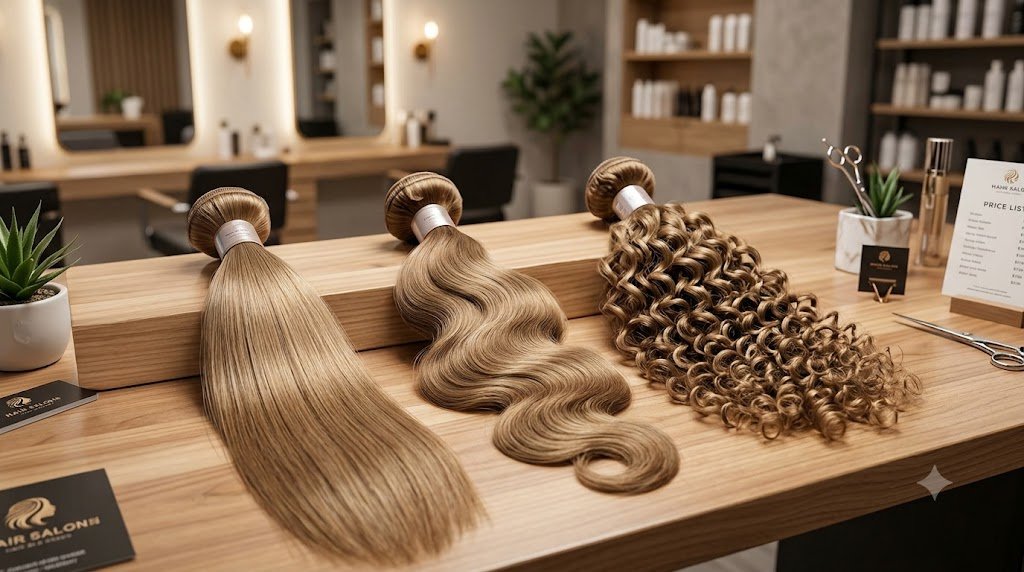
Choosing the right installation method for your hair extensions can make all the difference between an effortless hair slay and an uncomfortable hair disaster. If you have recently invested in high-quality human hair bundles, your next big decision is how to install them.
Two of the most popular protective styling techniques dominate the beauty world today: the quick weave and the sew-in. Both methods allow you to add dramatic length, transform your texture, and rock gorgeous styles like sleek straight bundles without altering your natural hair. But which technique best fits your lifestyle, budget, and healthy hair goals?
In this comprehensive guide, you’ll learn the exact differences between a quick weave and a traditional sew-in, the step-by-step installation mechanics for both, and how to choose the ideal method for your hair bundles. Plus, if you are looking to restock your hair stash, don’t miss out—you can get up to 25% off in this black friday deals on bundles!

Understanding the Basics: Quick Weave vs. Sew-In
Before diving into the step-by-step application, let’s establish what sets these two hair extension installation methods apart.
What is a Quick Weave?
Quick weaves are a fast way of adding extensions by attaching wefts of human hair to a protective wig cap or stocking cap, which is placed on top of your natural hair. Before applying the glue, your natural hair is braided flat or combed back using a protective gel. Measurements are taken for your extension tracks (wefts); they are cut to size and attached to your cap. They are then blow-dried to set them into place.
What is a Sew-In?
A traditional sew-in relies purely on manual craftsmanship without chemical adhesives. Your natural hair is braided into precise cornrow patterns. Using a curved blunt needle and specialized weaving thread, your stylist stitches the wefts of your best human hair bundles directly onto the braids.

Step-by-Step Installation: Quick Weave Method
A quick weave is celebrated for its speed and convenience. Here is how the process works from start to finish:
Step 1: Prep and Protect Natural Hair
- Cleanse and deep-condition your natural hair thoroughly.
- Braid your hair flat into simple cornrows, or gel your hair down into a slick, flat wrap.
- Allow the protective molding gel to dry completely under a hooded dryer.
Step 2: Apply the Barrier Base
- Place one to two protective stocking caps over your scalp, covering all natural hair.
- Optional: Apply a specialized liquid cap shield over the stocking cap to ensure hair glue cannot seep through to your real hair strands.
Step 3: Measure and Glue the Wefts
- Lay your human hair bundles across the back of the cap to measure the width.
- Apply quality hair bonding glue along the track of the bundle.
- Press the weft firmly onto the cap starting from the nape of your neck, working your way up in U-shaped patterns.
- Use a blow dryer on cool heat for 30 seconds to lock each track in place.
Step 4: Blend and Style
- If using a lace closure or frontal, glue it down securely at the front hairline.
- Style your extensions—whether flat ironing straight bundles for a glass-hair finish or creating voluminous layers.
Step-by-Step Installation: Sew-In Method
The sew-in technique requires more chair time, but it pays off in durability and tension security.
Step 1: Precision Braiding
- Braid natural hair into a tight, secure foundation (anchor braids) tailored to your desired parting (e.g., middle part, side part, or 360 leave-out).
- Sew down the loose ends of your braids flat against your scalp.
Step 2: Optional Net Application
- Place an elastic weaving net over the cornrows and stitch it into the perimeter braids.
- Why use a net? It reduces tension on your natural hair strands and provides extra space to anchor your hair bundles.
Step 3: Stitching the Tracks
- Thread your curved needle with some strong cotton/nylon weave thread.
- Cut/fold the tracks of your best human hair bundles to match your desired braiding pattern.
- Tie the ends of your wefts securely into the braids using a double stitch and lock-stitch knot to help prevent slippage.
Step 4: Closure/Frontal & Styling
- Stitch down your lace closure, frontal, or blend your leave-out natural hair over the top tracks.
- Trim, layer, and heat-style your extensions.

Pros & Cons and Frequently Asked Questions
To give you a balanced look at both techniques, here is a breakdown of the benefits, potential drawbacks, and answers to top community questions.
Quick Weave: The Advantages & Trade-offs
- Pros:
- Fast! Only takes 1-2 hours.
- Cheap! Salon costs are much cheaper than sew-ins.
- Not tight. Not as tight on your head as micro braids.
- Versatile! Great for quick changes, partying over the holidays or experimenting with crazy haircuts.
- Cons:
- Only lasts up to 6 weeks
- Glue can get into your real hair if not removed properly or if using cheap caps.
- Can’t be washed properly by submerging it in water, which means the glue will melt off.
Sew-In Weave: The Advantages & Trade-offs
Pros
- Long-lasting (lasts between 8-12 weeks if properly maintained)
- Breathable (you can wash through your scalp and condition your braids between each track).
- Chemical-free (no glue, bonding products or harsh chemicals)
- Ideal for active lifestyles (perfect for workouts, swimming and everyday washing)
Cons
- Long process (will require you to be sat in the salon chair for 3-5 hours).
- Expensive (professional installers will charge a lot more).
- Too tight can cause stress on your scalp.
Frequently Asked Questions
How many bundles do I need for a complete quick weave or sew-in?
Whether choosing a quick weave or a sew-in, the bundle rule remains identical:
- 12 inches – 16 inches: 2 to 3 human hair bundles.
- 18 inches – 22 inches: 3 hair bundles.
- 24 inches and longer: 4 bundles (since longer lengths feature narrower track widths).
Will a quick weave damage my natural hair?
They last a long time! If properly maintained, they will be perfectly secure for 8-12 weeks.
They are not damaging to your hair if fitted and removed correctly! They will only cause damage if the glue gets into the cap or you attempt to remove them by ripping the cap off dry. Always soak your base in an oil-based glue remover or Coconut Oil to easily dissolve the tracks whilst removing.
What People Ask AI About Hair Bundles & Installs
Search engines and AI assistants receive thousands of queries daily from hair enthusiasts looking for instant answers. Here are direct, expert answers to the most common search prompts:
“Can I reuse my human hair bundles after a quick weave?”
Yes! The glue has been applied to the track, so you can simply wipe off any remaining glue from the hair by using a light oil or bond remover. Once you have washed and deeply conditioned your best human hair bundles, they are ready to be used again in a future sew in or quick weave.
“Are straight bundles better for quick weaves or sew-ins?”
Sleek straight bundles work exceptionally well for both methods! However, because straight hair reveals every detail of a style, a quick weave allows tracks to lie ultra-flat for a razor-sharp bob or bone-straight finish. Meanwhile, a sew-in allows you to wash and restyle your straight hair repeatedly over several months without losing track adhesion.

Final Recommendation: Which Method Should You Choose?
Deciding between a quick weave and a sew-in comes down to your personal priorities:
- Choose a Quick Weave if: You are on a tight schedule, want an affordable installation, love changing up your hair length and color frequently, or need a stunning look for a short-term event.
- Choose a Sew-In if: You want a long-term protective style, lead an active lifestyle, want full access to wash your scalp, and prefer zero glue near your hair.
Whichever route you take, high-quality hair is the key foundation for a flawless outcome. Take advantage of seasonal sales to upgrade your hair collection—you can get up to 25% off in this black friday deals on bundles right now to lock in premium quality human hair bundles for less!